There are mistakes that can be easily made in real estate photography. It’s important to try and avoid these at all costs to keep your photographs in the highest quality possible. Avoiding these mistakes that we list below can help you minimize the time you spend on reshooting the same property. Read below to learn what these 3 mistakes are to help improve your real estate photography.
Not Telling Your Client To Prepare For The Photoshoot
Many homeowners trying to sell their home get distracted by the main goal of selling the home. To get their home sold they need to consider other details like having high quality photos to get their home sold faster and for a higher value. Not every homeowner understands what needs to be done in order to get their home ready for a real estate photoshoot. Thinking that they do is a big mistake on your end as the photographer so it’s important to create a guideline for your client so they know how they can prepare their house for the best pictures possible. In this guideline you can include basic things that they might forget about when cleaning their house. Remind them about cleaning windows and other tiny tasks. Always remember to let your clients know what they should have done with their home so they can have the best pictures possible.
Not Using Natural Light For Your Photographs
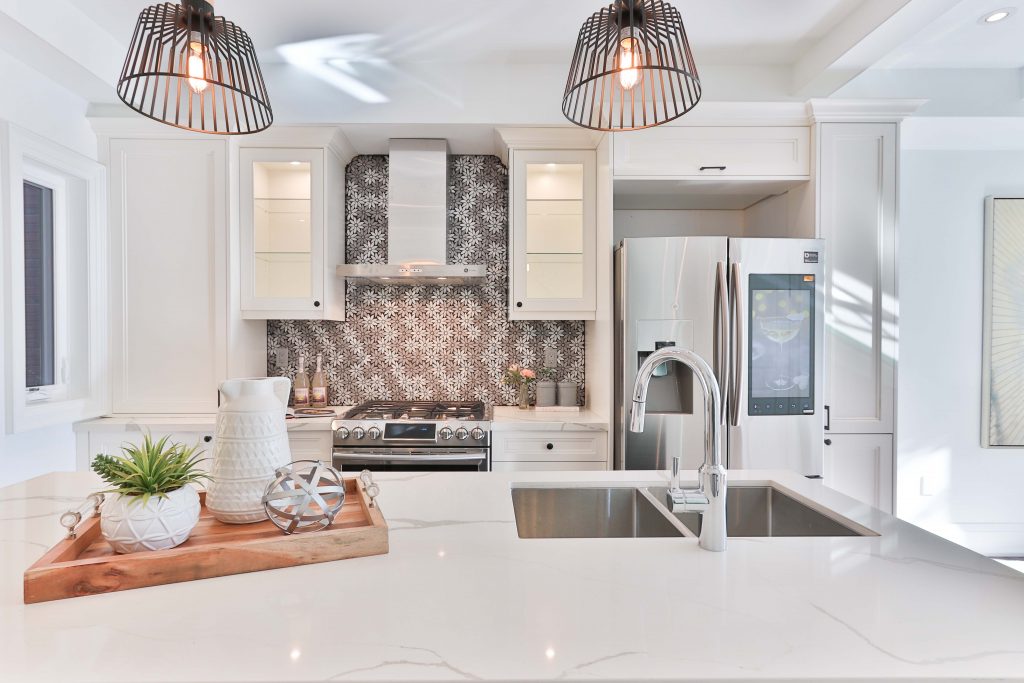
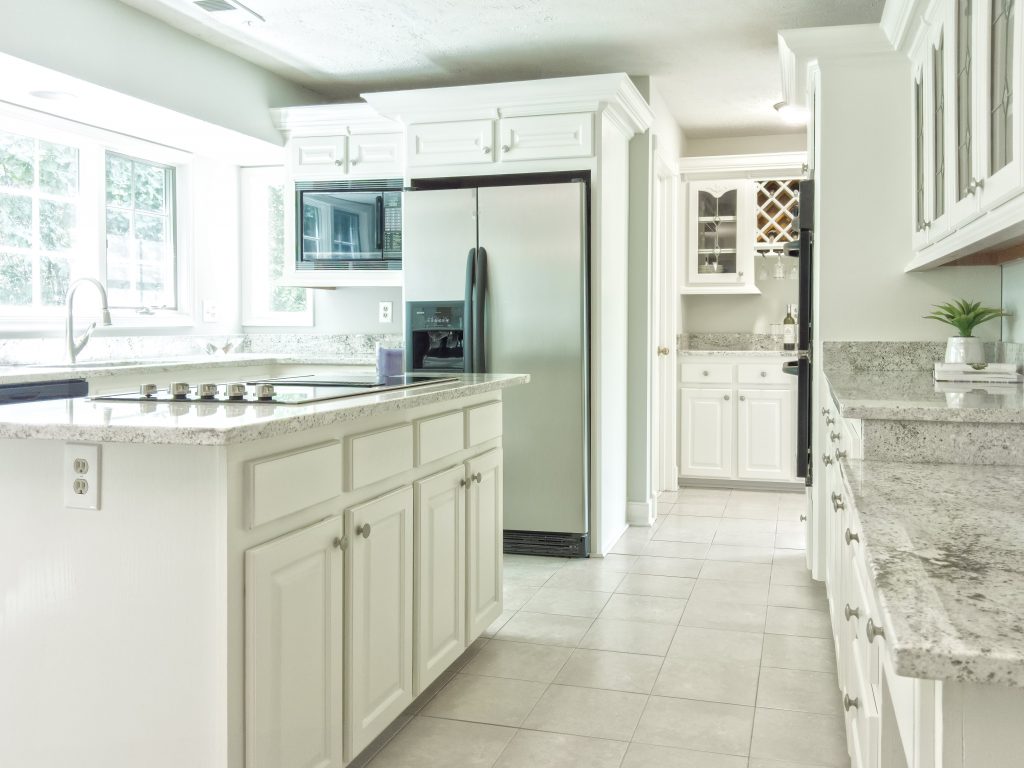
Having natural light in your photographs will give them more of a consistent look which will help match your photos and make them look much more professional. Natural light will give the rooms on the property a certain kind of bright appeal that artificial light just can’t pull off. The only challenge with using natural light is that the windows or doors in the room will be much brighter than the room as a whole. Fortunately, using the bracket and merge technique any real estate photographer can overcome this challenge. Take advantage of natural light for all of your real estate photographs.
Having Your Photographs With Different Color Temperatures
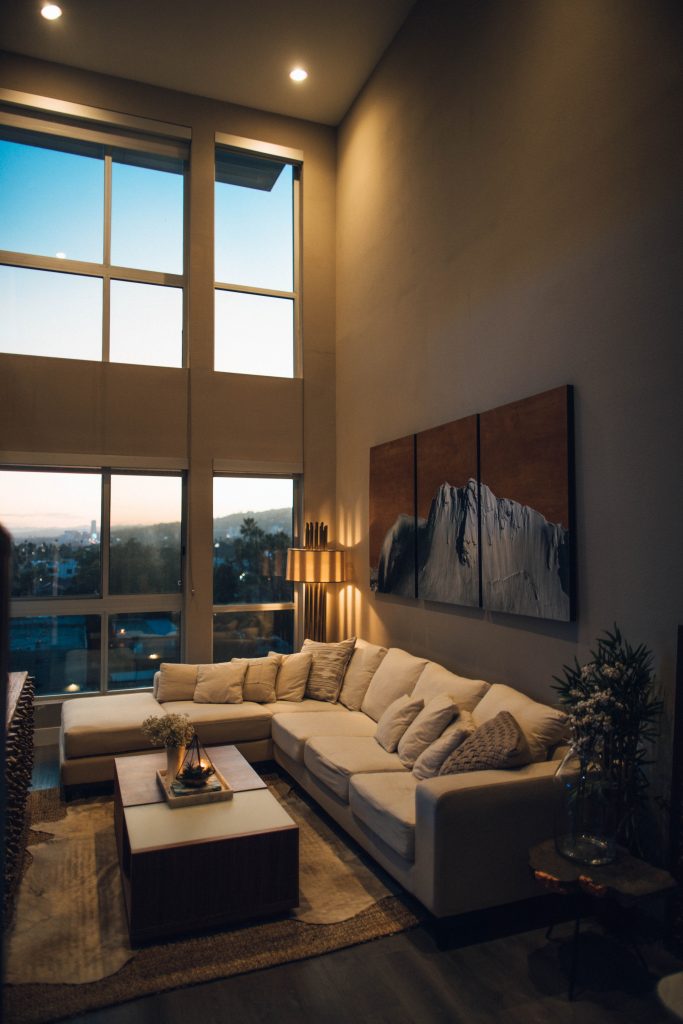
Most people know that some rooms in a home will have warm light and others will have cool light. It’s crucial for your real estate photography that you try to get every photo you take to have the same color temperature. This way all the photos will match better and the photos will look more high quality as a set for your clients and for potential homebuyers to look at. If the rooms have different color temperatures you can easily fix this during your photo editing. However, if you want to fix this while taking the photos you can easily take advantage of natural light instead of artificial lighting. By turning off the artificial lights in the room you can avoid color casts of light bulbs. This way your color temperature in each room will be more consistent and your photos will look better as a set when the color temperature matches from picture to picture.
Avoiding Real Estate Photography Mistakes
Above we listed 3 important real estate photography mistakes and ways that you can avoid them. This will help improve your overall real estate photography and your clients and potential homebuyers will be amazed by your high quality work. Take advantage of these mistakes and how to avoid them above and apply them to your real estate photography to help grow your real estate photography business.
